Note
Go to the end to download the full example code.
Warping by Vectors#
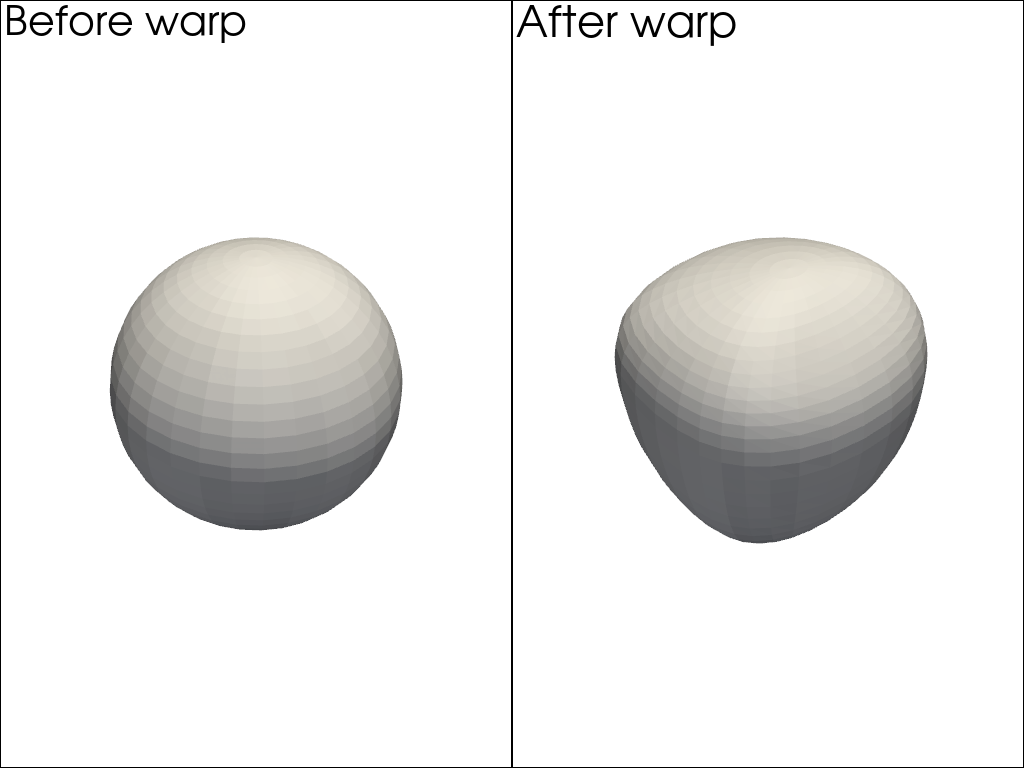
This example applies the warp_by_vector filter to a sphere mesh that has
3D displacement vectors defined at each node.
We first compare the unwarped sphere to the warped sphere.
from __future__ import annotations

from itertools import product

import pyvista as pv
from pyvista import examples

sphere = examples.load_sphere_vectors()
warped = sphere.warp_by_vector()

p = pv.Plotter(shape=(1, 2))
p.subplot(0, 0)
p.add_text("Before warp")
p.add_mesh(sphere, color='white')
p.subplot(0, 1)
p.add_text("After warp")
p.add_mesh(warped, color='white')
p.show()
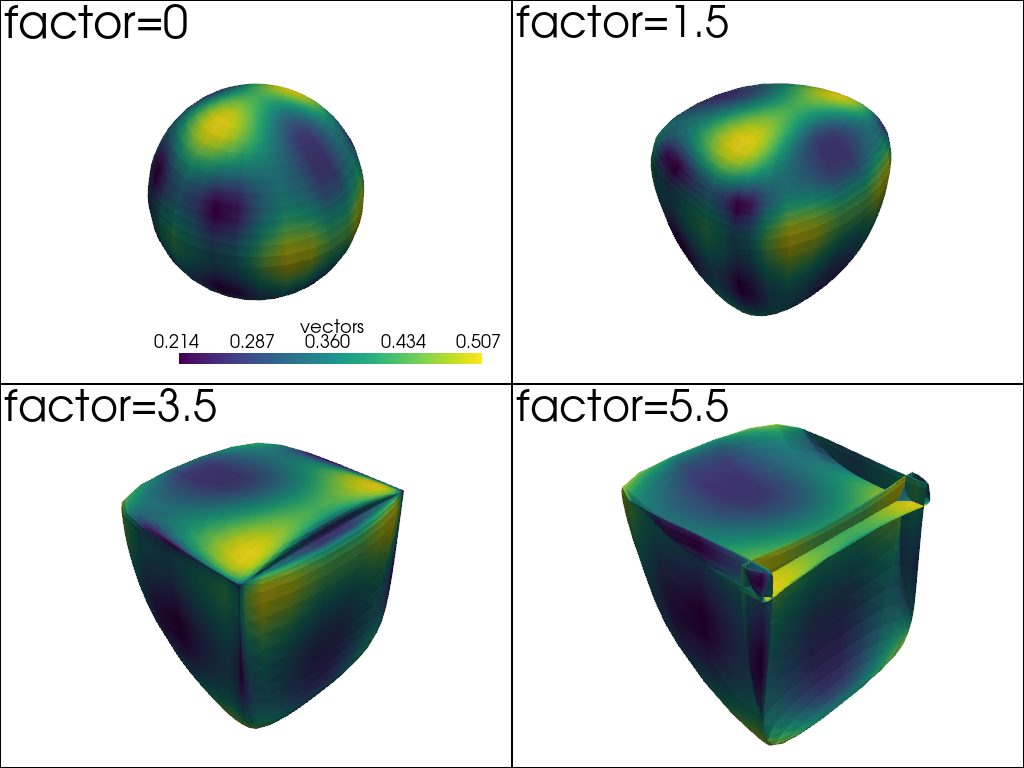
We then use several values for the scale factor applied to the warp operation. Applying a warping factor that is too high can often lead to unrealistic results.
warp_factors = [0, 1.5, 3.5, 5.5]
p = pv.Plotter(shape=(2, 2))
for i, j in product(range(2), repeat=2):
    idx = 2 * i + j
    p.subplot(i, j)
    p.add_mesh(sphere.warp_by_vector(factor=warp_factors[idx]))
    p.add_text(f'factor={warp_factors[idx]}')
p.show()
Total running time of the script: (0 minutes 0.810 seconds)