Note
Go to the end to download the full example code.
Anti-Aliasing#
Demonstrate anti-aliasing within PyVista.
PyVista supports three types of anti-aliasing:
SSAA - Super-Sample Anti-Aliasing
MSAA - Multi-Sample Anti-Aliasing
FXAA - Fast Approximate Anti-Aliasing
By default, MSAA anti-aliasing is enabled using 8 samples. This is the default for VTK.
>>> import pyvista as pv
>>> pv.global_theme.multi_samples
8
You can enable additional line smoothing by enabling SSAA or FXAA
Which anti-aliasing technique should you use?
Normally, the default MSAA anti-aliasing should be sufficient as it strikes a
balance between efficiency and quality. If you desire additional smoothing, you
can either increase the number of multi_samples or use SSAA. Low-end PCs
should consider FXAA.
from __future__ import annotations

import pyvista as pv

mesh = pv.Icosphere()
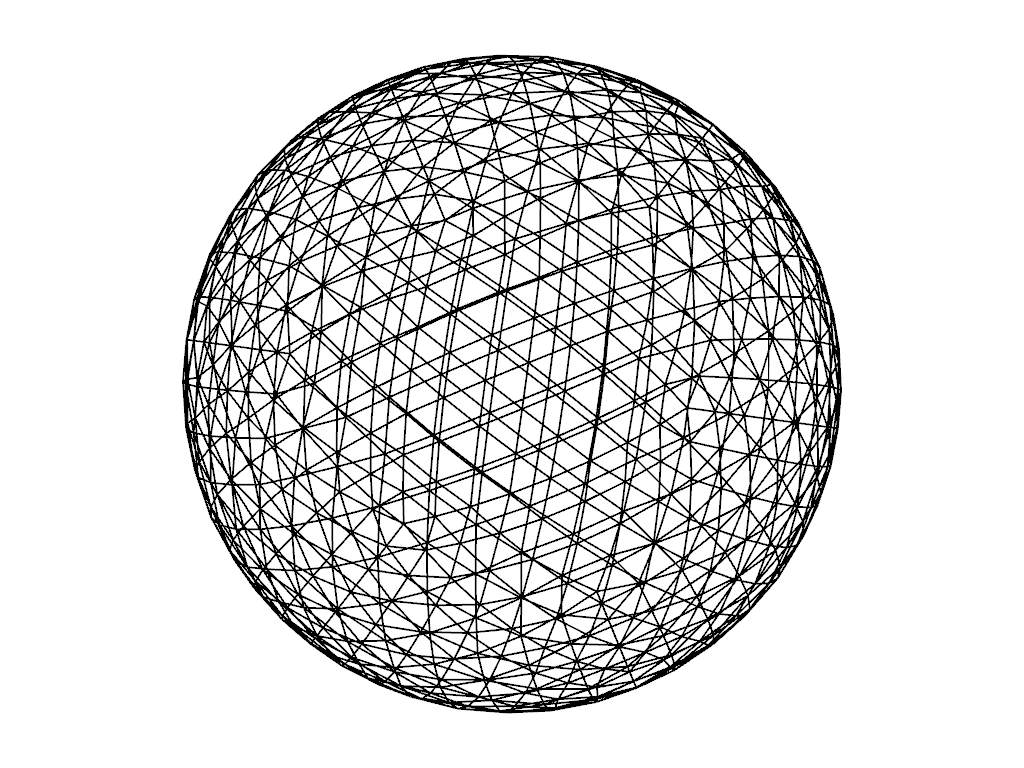
No Anti-Aliasing#
First, let’s show a plot without any anti-aliasing.
pl = pv.Plotter()
pl.add_mesh(mesh, style='wireframe', color='k', line_width=2)
pl.disable_anti_aliasing()
pl.camera.zoom(1.5)
pl.show()

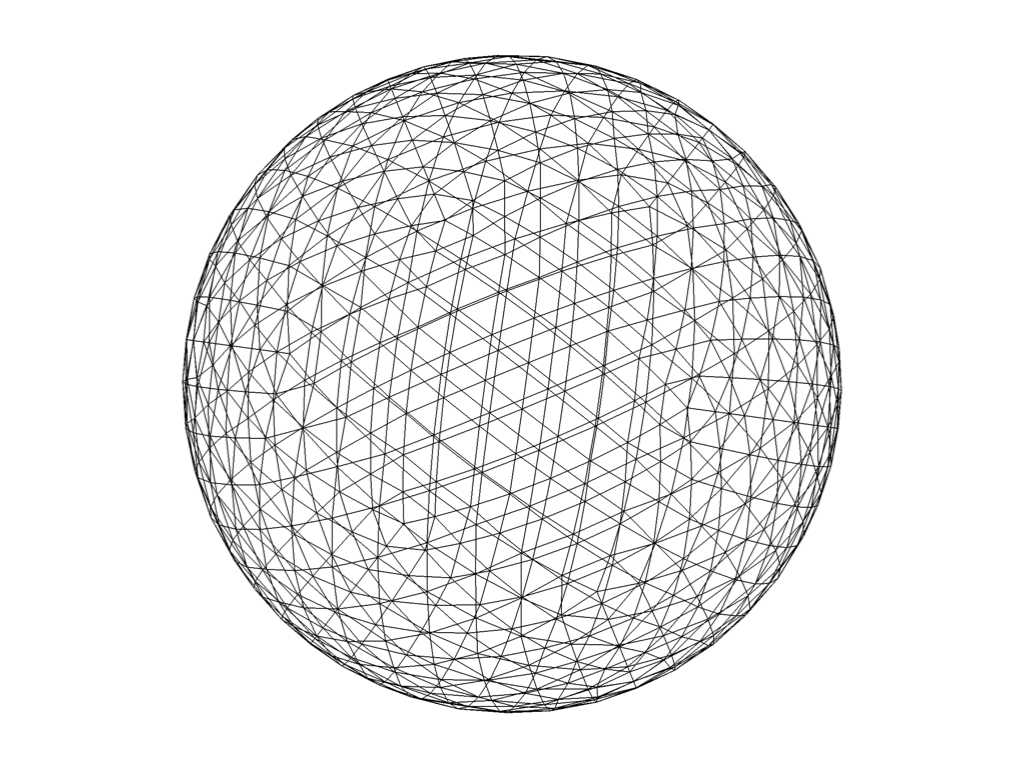
Default: Multi-Sample Anti-Aliasing (MSAA)#
Next, let’s show the default anti-aliasing configuration. By default, PyVista uses 8 samples of MSAA.
MSAA, or Multi-Sample Anti-Aliasing is an optimization of SSAA that reduces the amount of pixel shader evaluations that need to be computed by focusing on overlapping regions of the scene. The result is anti-aliasing along edges that is on par with SSAA and less anti-aliasing along surfaces as these make up the bulk of SSAA computations. MSAA is substantially less computationally expensive than SSAA and results in comparable image quality.
pl = pv.Plotter()
pl.add_mesh(mesh, style='wireframe', color='k', line_width=2)
pl.camera.zoom(1.5)
pl.show()
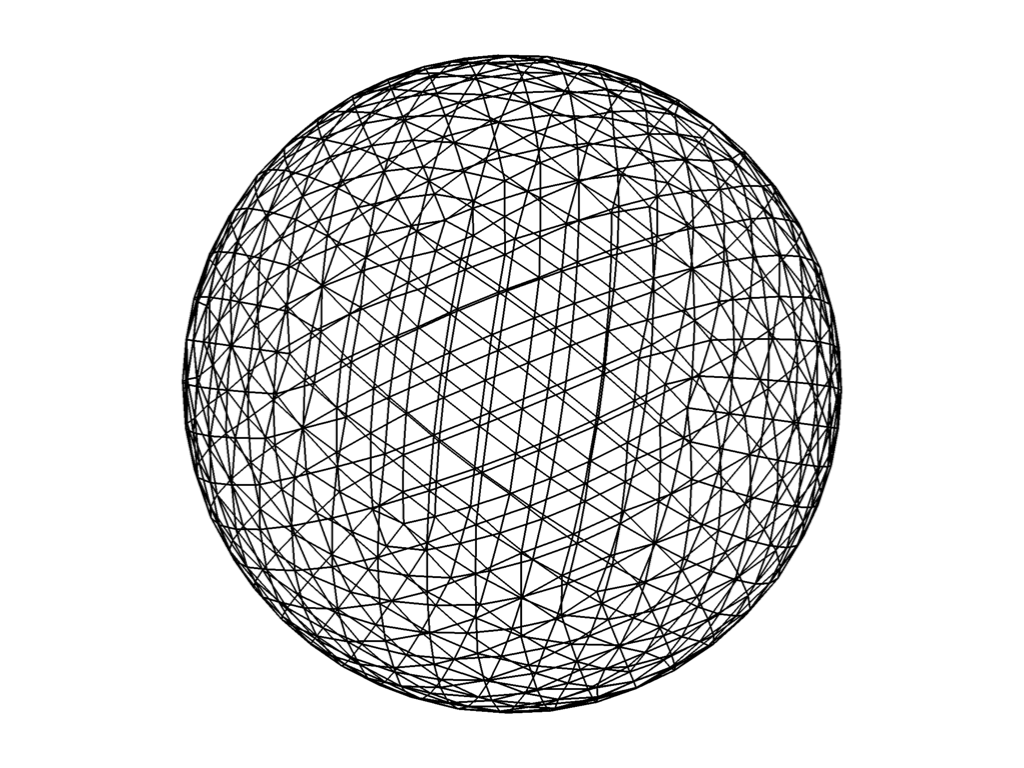
You can increase the smoothing by increasing multi_samples
pl = pv.Plotter()
pl.add_mesh(mesh, style='wireframe', color='k', line_width=2)
pl.enable_anti_aliasing('msaa', multi_samples=16)
pl.camera.zoom(1.5)
pl.show()

Fast Approximate Anti-Aliasing (FXAA)#
FXAA is the most performant of all three anti-aliasing techniques. This is because, in terms of hardware or GPU, FXAA is not that demanding. It directly smooths the 2D image and this reduces the strain on the GPU, making it best for low-end PCs.
Because FXAA only operates on the rendered image, FXAA may result in smoothing out parts of the visual overlay that are usually kept sharp for reasons of clarity as well as smoothing out textures. In general, FXAA is inferior to MSAA and SSAA.
Note how the line width has been adjusted for consistency.
pl = pv.Plotter()
pl.add_mesh(mesh, style='wireframe', color='k', line_width=1.5)
pl.camera.zoom(1.5)
pl.enable_anti_aliasing('fxaa')
pl.show()
Super-Sample Anti-Aliasing (SSAA)#
SSAA, or Super-Sample Anti-Aliasing is a brute force method of anti-aliasing. It results in the best image quality but comes at a tremendous resource cost. SSAA works by rendering the scene at a higher resolution. The final image is produced by downsampling the massive source image using an averaging filter. This acts as a low pass filter which removes the high frequency components that would cause jaggedness.
Note how the line width has been adjusted for consistency.
pl = pv.Plotter()
pl.add_mesh(mesh, style='wireframe', color='k', line_width=4)
pl.camera.zoom(1.5)
pl.enable_anti_aliasing('ssaa')
pl.show()
Compare render time#
You can compare the time to render for each one of the anti-aliasing approaches with:
n_render = 100
for anti_aliasing in [False, 'fxaa', 'msaa', 'ssaa']:

    pl = pv.Plotter(off_screen=True)
    pl.add_mesh(mesh, style='wireframe', color='k', line_width=4)
    pl.camera.zoom(1.5)
    if anti_aliasing:
        pl.enable_anti_aliasing(anti_aliasing)
    else:
        pl.disable_anti_aliasing()
    pl.show(auto_close=False)
    tstart = time.time()
    # repeately trigger a render via saving a screenshot
    for __ in range(n_render):
        pl.screenshot('tmp.png')
    telap = (time.time() - tstart)/n_render

    print(f'Render time for {str(anti_aliasing):6}: {telap*1000:.3f} ms')
Here are the timings from an NVIDIA Quadro P2000 and a Intel(R) Xeon(R) E-2288G CPU @ 3.70GHz:
Render time for False : 37.045 ms
Render time for fxaa  : 40.458 ms
Render time for msaa  : 42.566 ms
Render time for ssaa  : 51.450 ms
Total running time of the script: (0 minutes 1.447 seconds)