Note
Go to the end to download the full example code.
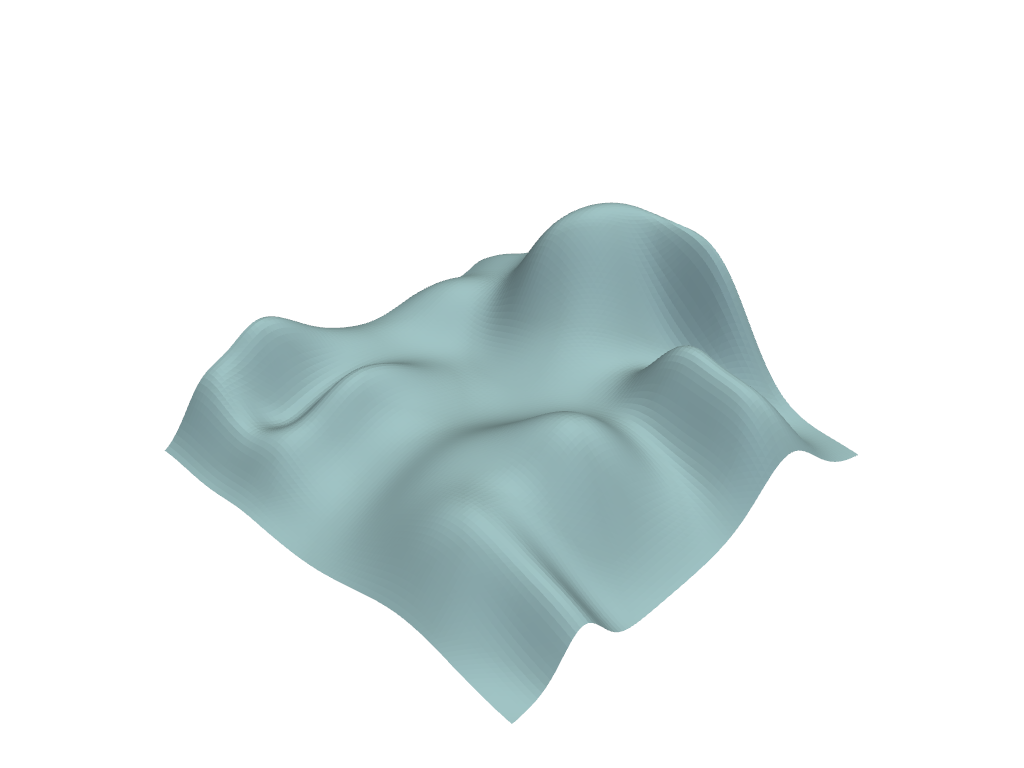
Render a depth image#
Use get_image_depth() to plot a depth image as viewed from a
camera overlooking the load_random_hills() example mesh.
import matplotlib.pyplot as plt

import pyvista as pv
from pyvista import examples

# Load an interesting example of geometry
mesh = examples.load_random_hills()

# Establish geometry within a pv.Plotter() and enable storing image depth
pl = pv.Plotter()
pl.add_mesh(mesh, color=True)
pl.show(store_image_depth=True)
Record depth image without and with a custom fill value
zval = pl.get_image_depth()
zval_filled_by_42s = pl.get_image_depth(fill_value=42.0)
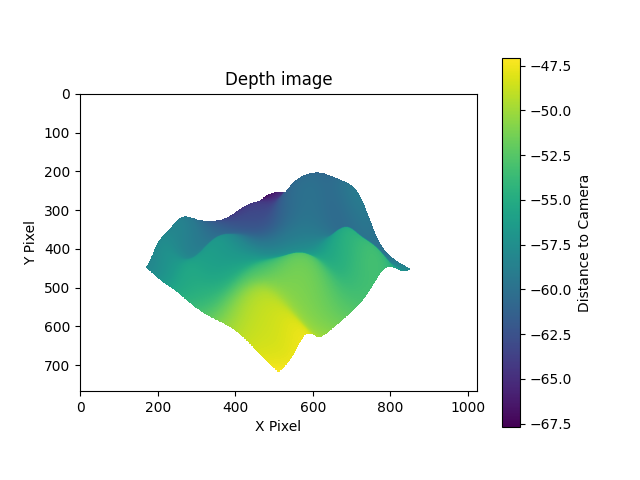
Visualize depth images
plt.figure()
plt.imshow(zval)
plt.colorbar(label='Distance to Camera')
plt.title('Depth image')
plt.xlabel('X Pixel')
plt.ylabel('Y Pixel')
plt.show()
plt.figure()
plt.imshow(zval_filled_by_42s)
plt.title('Depth image (custom fill_value)')
plt.colorbar(label='Distance to Camera')
plt.xlabel('X Pixel')
plt.ylabel('Y Pixel')
plt.show()

Total running time of the script: (0 minutes 0.956 seconds)
