Note
Go to the end to download the full example code.
Depth Peeling#
Depth peeling is a technique to correctly render translucent geometry. This is
not enabled by default in pyvista.global_theme as some operating systems and versions of VTK
have issues with this routine.
For this example, we will showcase the difference that depth peeling provides.
from __future__ import annotations

import pyvista as pv
from pyvista import examples
dargs = dict(opacity=0.5, color="red", smooth_shading=True)

p = pv.Plotter(shape=(1, 2))

p.add_mesh(spheres, **dargs)
p.enable_depth_peeling(10)
p.add_text("Depth Peeling")

p.subplot(0, 1)
p.add_text("Standard")
p.add_mesh(spheres.copy(), **dargs)

p.link_views()
p.camera_position = [(11.7, 4.7, -4.33), (0.0, 0.0, 0.0), (0.3, 0.07, 0.9)]
p.show()

The following room surfaces example mesh, provided courtesy of Sam Potter has coincident topology and depth rendering helps correctly render those geometries when a global opacity value is used.
room = examples.download_room_surface_mesh()

p = pv.Plotter(shape=(1, 2))

p.enable_depth_peeling(number_of_peels=4, occlusion_ratio=0)
p.add_mesh(room, opacity=0.5, color='lightblue')
p.add_text("Depth Peeling")

p.subplot(0, 1)
p.add_text("Standard")
p.add_mesh(room.copy(), opacity=0.5, color='lightblue')

p.link_views()
p.camera_position = [(43.6, 49.5, 19.8), (0.0, 2.25, 0.0), (-0.57, 0.70, -0.42)]

p.show()

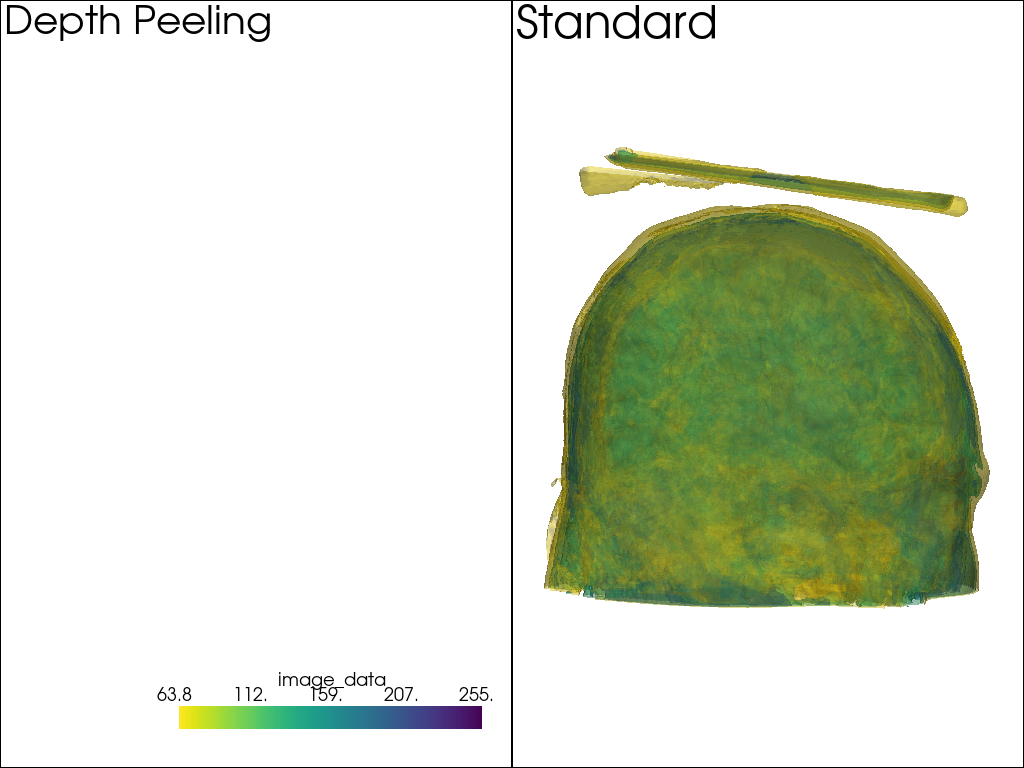
And here is another example wheen rendering many translucent contour surfaces.
mesh = examples.download_brain().contour(5)
cmap = "viridis_r"

p = pv.Plotter(shape=(1, 2))

p.add_mesh(mesh, opacity=0.5, cmap=cmap)
p.enable_depth_peeling(10)
p.add_text("Depth Peeling")

p.subplot(0, 1)
p.add_text("Standard")
p.add_mesh(mesh.copy(), opacity=0.5, cmap=cmap)

p.link_views()
p.camera_position = [(418.3, 659.0, 53.8), (90.2, 111.5, 90.0), (0.03, 0.05, 1.0)]
p.show()

Total running time of the script: (0 minutes 36.746 seconds)
