pyvista.Plotter.show#
- Plotter.show(
- title: str | None = None,
- window_size: Sequence[int] | None = None,
- interactive: bool = True,
- auto_close: bool | None = None,
- interactive_update: bool = False,
- full_screen: bool | None = None,
- screenshot: str | Path | io.BytesIO | bool = False,
- return_img: bool = False,
- cpos: CameraPositionOptions | None = None,
- jupyter_backend: JupyterBackendOptions | None = None,
- return_viewer: bool = False,
- return_cpos: bool | None = None,
- before_close_callback: Callable[[Plotter], None] | None = None,
- **kwargs,
Display the plotting window.
- Parameters:
- title
str,optional Title of plotting window. Defaults to
pyvista.global_theme.title.- window_size
list[int],optional Window size in pixels. Defaults to
pyvista.global_theme.window_size.- interactivebool,
optional Enabled by default. Allows user to pan and move figure. Defaults to
pyvista.global_theme.interactive.- auto_closebool,
optional Exits plotting session when user closes the window when interactive is
True. Defaults topyvista.global_theme.auto_close.- interactive_updatebool, default:
False Allows user to non-blocking draw, user should call
Plotter.update()in each iteration.- full_screenbool,
optional Opens window in full screen. When enabled, ignores
window_size. Defaults topyvista.global_theme.full_screen.- screenshot
str|Path|io.BytesIO| bool, default:False Take a screenshot of the initial state of the plot. If a string, it specifies the path to which the screenshot is saved. If
True, the screenshot is returned as an array. For interactive screenshots it’s recommended to first callshow()withauto_close=Falseto set the scene, then save the screenshot in a separate call toshow()orPlotter.screenshot(). See also thebefore_close_callbackparameter for an alternative.- return_imgbool, default:
False Returns a numpy array representing the last image along with the camera position.
- cpossequence[sequence[
float]],optional The camera position. You can also set this with
Plotter.camera_position.- jupyter_backend
str,optional Jupyter notebook plotting backend to use. One of the following:
'none': Do not display in the notebook.'static': Display a static figure.'trame': Display a dynamic figure with Trame.'html': Use an ebeddable HTML scene.
This can also be set globally with
pyvista.set_jupyter_backend().A dictionary
jupyter_kwargscan also be passed to further configure how the backend displays.- return_viewerbool, default:
False Return the jupyterlab viewer, scene, or display object when plotting with Jupyter notebook. When
Falseand within a Jupyter environment, the scene will be immediately shown within the notebook. Set this toTrueto return the scene instead.- return_cposbool,
optional Return the last camera position from the render window when enabled. Default based on theme setting. See
pyvista.plotting.themes.Theme.return_cpos.- before_close_callback
Callable,optional Callback that is called before the plotter is closed. The function takes a single parameter, which is the plotter object before it closes. An example of use is to capture a screenshot after interaction:
def fun(plotter):
    plotter.screenshot('file.png')
- **kwargs
dict,optional Developer keyword arguments.
- title
- Returns:
- cpos
list List of camera position, focal point, and view up. Returned only when
return_cpos=Trueor set in the default global or plot theme.- image
np.ndarray Numpy array of the last image when either
return_img=Trueorscreenshot=Trueis set. Optionally contains alpha values. Sized:[Window height x Window width x 3] if the theme sets
transparent_background=False.[Window height x Window width x 4] if the theme sets
transparent_background=True.
- widget
Widget|EmbeddableWidget|IFrame|Image IPython widget when
return_viewer=True.
- cpos
Notes
Please use the
q-key to close the plotter as some operating systems (namely Windows) will experience issues saving a screenshot if the exit button in the GUI is pressed.Examples
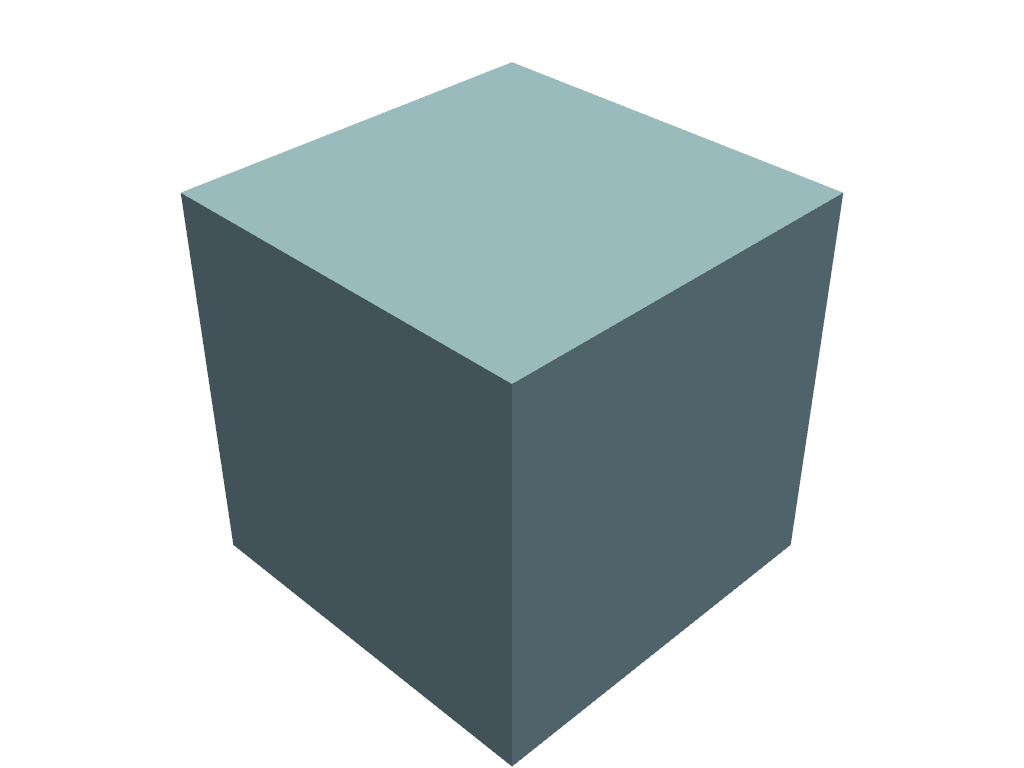
Simply show the plot of a mesh.
>>> import pyvista as pv
>>> pl = pv.Plotter()
>>> _ = pl.add_mesh(pv.Cube())
>>> pl.show()

Take a screenshot interactively. Screenshot will be of the first image shown, so use the first call with
auto_close=Falseto set the scene before taking the screenshot.>>> pl = pv.Plotter() >>> _ = pl.add_mesh(pv.Cube()) >>> pl.show(auto_close=False) >>> pl.show(screenshot='my_image.png')
Obtain the camera position when using
show.>>> pl = pv.Plotter()
>>> _ = pl.add_mesh(pv.Sphere())
>>> pl.show(return_cpos=True)
[(2.223005211686484, -0.3126909484828709, 2.4686209867735065),
(0.0, 0.0, 0.0),
(-0.6839951597283509, -0.47207319712073137, 0.5561452310578585)]