注釈
Go to the end をクリックすると完全なサンプルコードをダウンロードできます.
ラベル付き画像データを切り抜く#
セグメンテーションされた医療画像などのラベル付きデータを切り抜くには crop() を使用します。
from __future__ import annotations

import pyvista as pv
from pyvista import examples
CT画像とそれに対応するセグメンテーションラベルを含むデータセットをロードします。 ここでは download_whole_body_ct_male() をロードします。
dataset = examples.download_whole_body_ct_male()
CTデータの ImageData とセグメンテーションマスクの1つを取得します。 この例では頭蓋骨のマスクを選択します。
セグメンテーションマスクを使用してCT画像を切り取ります。 padding を使用して、マスク領域の周囲に追加のデータポイントを含めます。
cropped_ct = ct.crop(mask=skull, padding=10)
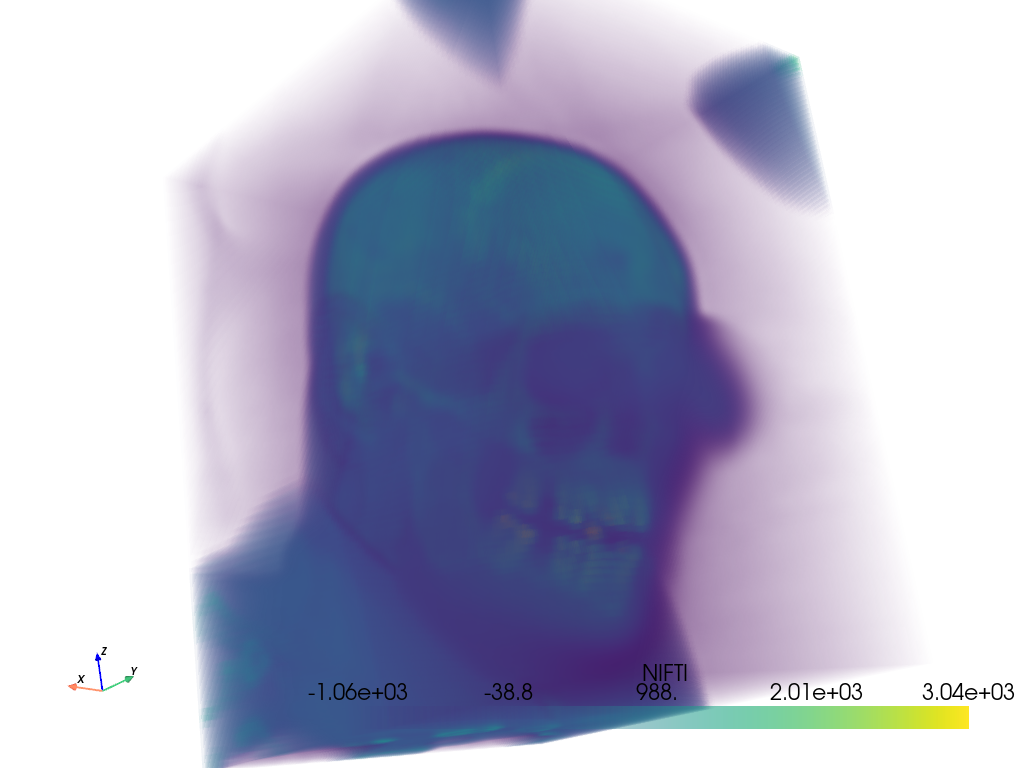
points_to_cells() を使って、切り取った画像を VOXEL のセルとしてプロットします。
cpos = pv.CameraPosition(
    position=(687.5, 763.6, 471.3),
    focal_point=(231.8, 296.3, 677.0),
    viewup=(0.107, 0.311, 0.944),
)

cropped_ct_voxels = cropped_ct.points_to_cells()
cropped_ct_voxels.plot(volume=True, cpos=cpos)
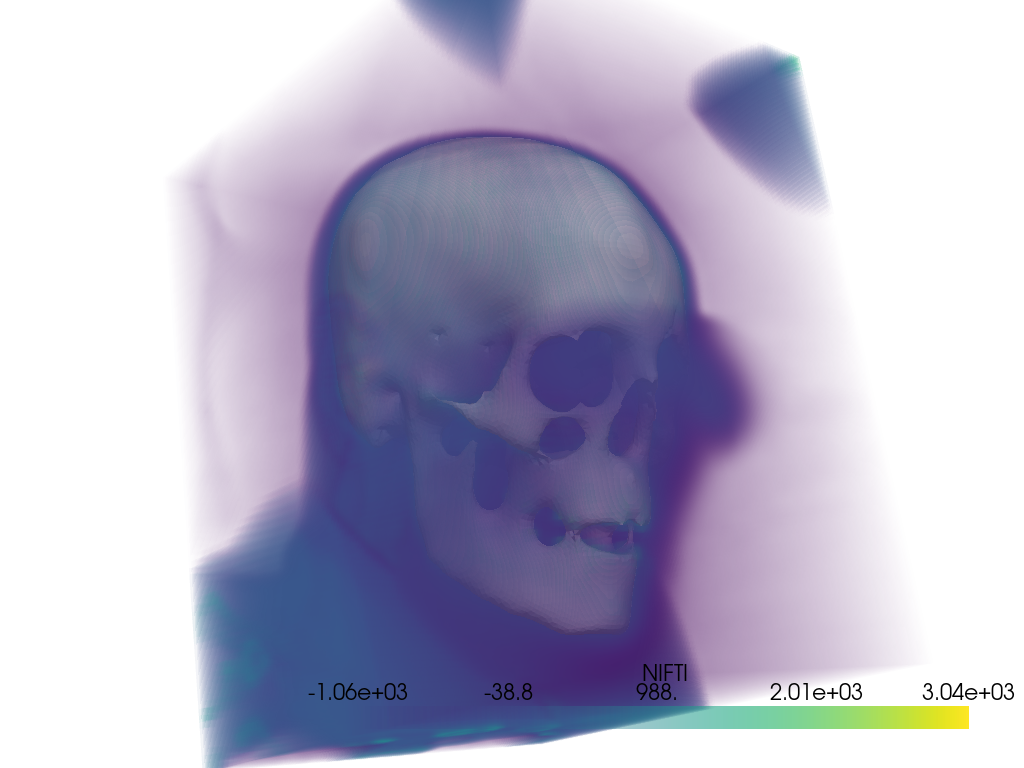
Include a surface contour of the mask with the plot.
skull_surface = skull.contour_labels()

pl = pv.Plotter()
pl.add_mesh(skull_surface, color='white')
pl.add_volume(cropped_ct_voxels)
pl.camera_position = cpos
pl.show()
After cropping, the CT image's dimensions are smaller than the mask's.
False
To keep dimension the same, either
crop the mask itself; the meshes will have smaller dimensions relative to the input
pad the CT image as part of the initial crop; the meshes will have the same dimensions as the input
To crop the mask itself, you can perform a similar crop as before using mask=True.
cropped_skull = skull.crop(mask=True, padding=10)
cropped_skull.dimensions
(71, 84, 100)
However, computationally it is more efficient to crop using extent directly.
(71, 84, 100)
Alternatively, use keep_dimensions and fill_value when initially cropping the
image so that the output dimensions match the input. A value of -1000 is used, which
may represent air in the scan.
cropped_ct = ct.crop(mask=skull, keep_dimensions=True, fill_value=-1000)
cropped_ct.dimensions
(160, 160, 273)
Total running time of the script: (0 minutes 4.084 seconds)