注釈
Go to the end をクリックすると完全なサンプルコードをダウンロードできます.
軸オブジェクト#
PyVista にはプロットに使用できる軸オブジェクトがたくさんあります。 この例では、これらのオブジェクトの多くを取り上げ、関連するプロットメソッドとの使い方を示します。
from __future__ import annotations

import pyvista as pv
from pyvista import examples
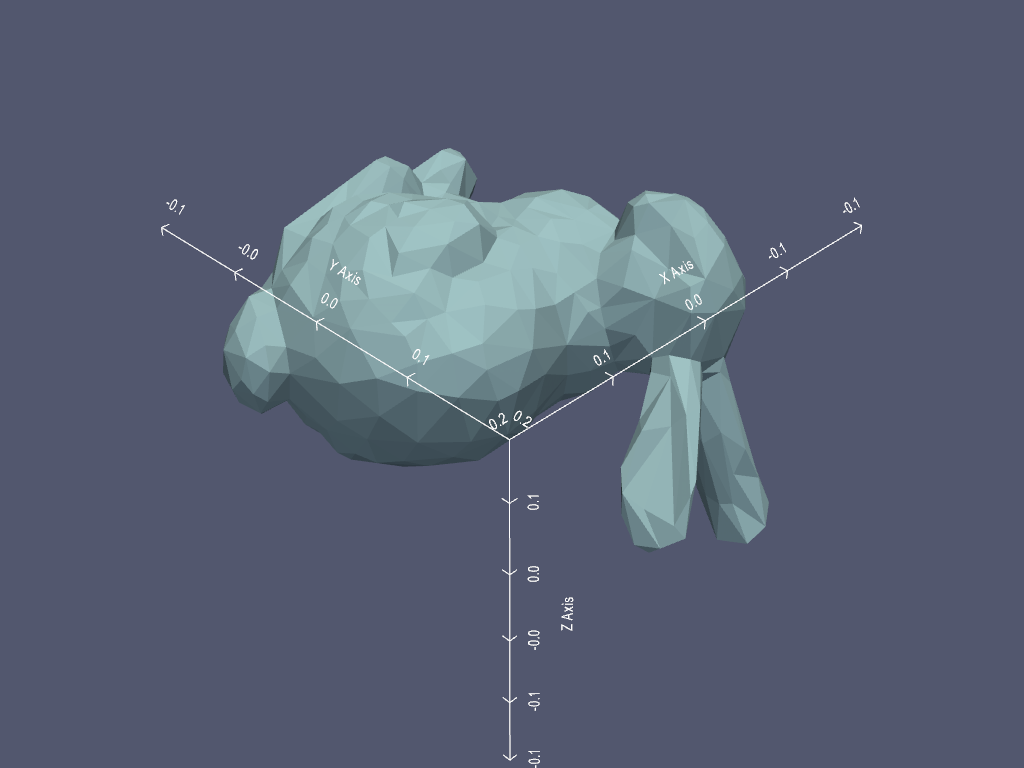
立方体軸#
軸の境界を CubeAxesActor で立方体として示します。
mesh = examples.download_bunny_coarse()

pl = pv.Plotter()
pl.add_mesh(mesh)
axes = pv.CubeAxesActor(camera=pl.camera)
axes.bounds = mesh.bounds
pl.add_actor(axes)
pl.background_color = pv.Color('paraview')
pl.show()
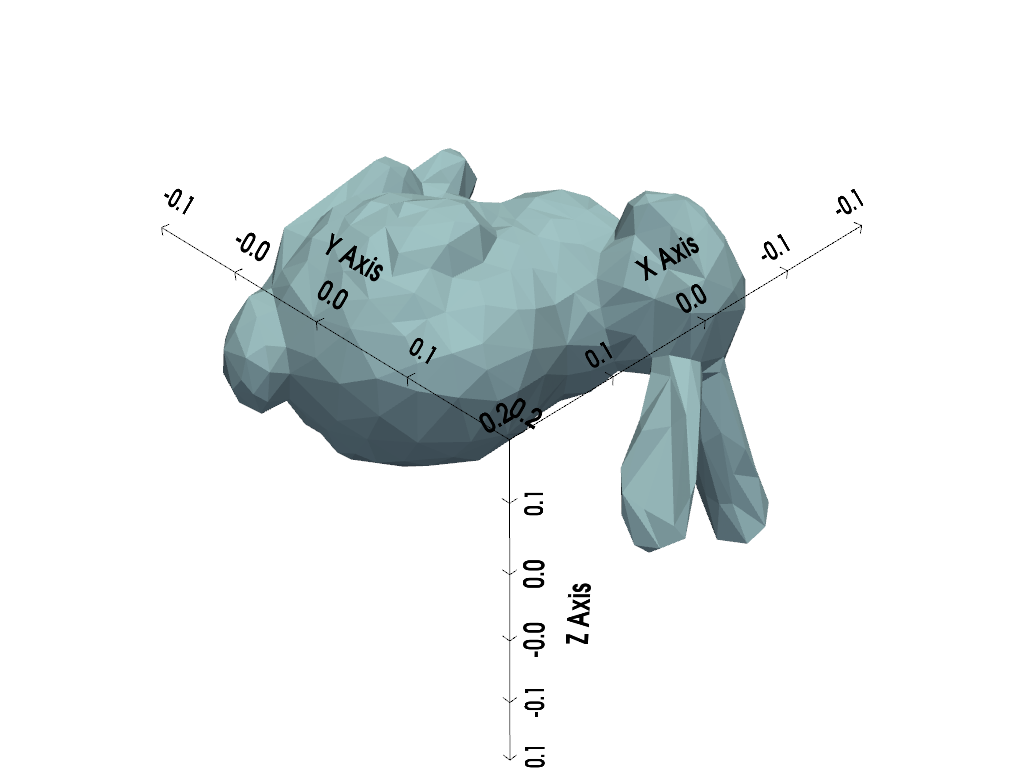
このように軸を追加するのは、カメラ、境界、色を手動で設定しなければならないので、少し面倒です。その代わりに、 show_bounds() を使って、あらかじめ設定されたパラメータを持つ CubeAxesActor を追加します。
pl = pv.Plotter()
pl.add_mesh(mesh)
pl.show_bounds()
pl.show()
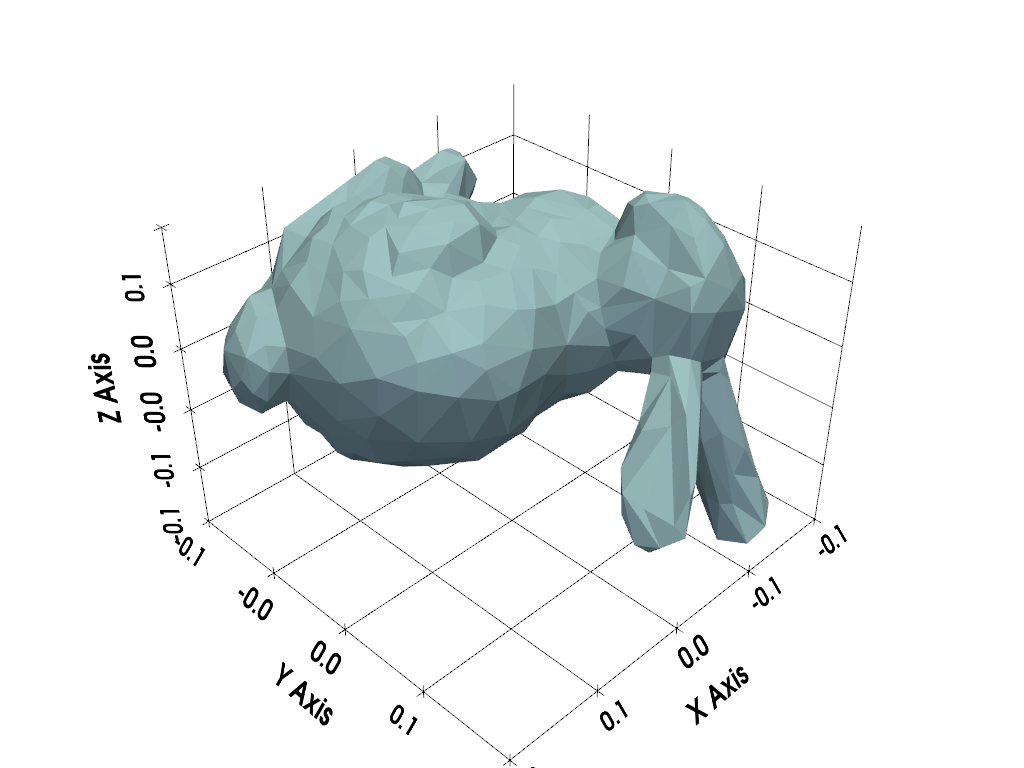
あるいは、 show_grid() を使います。 これもプロットに CubeAxesActor を追加しますが、デフォルトのオプションは異なります。
pl = pv.Plotter()
pl.add_mesh(mesh)
pl.show_grid()
pl.show()
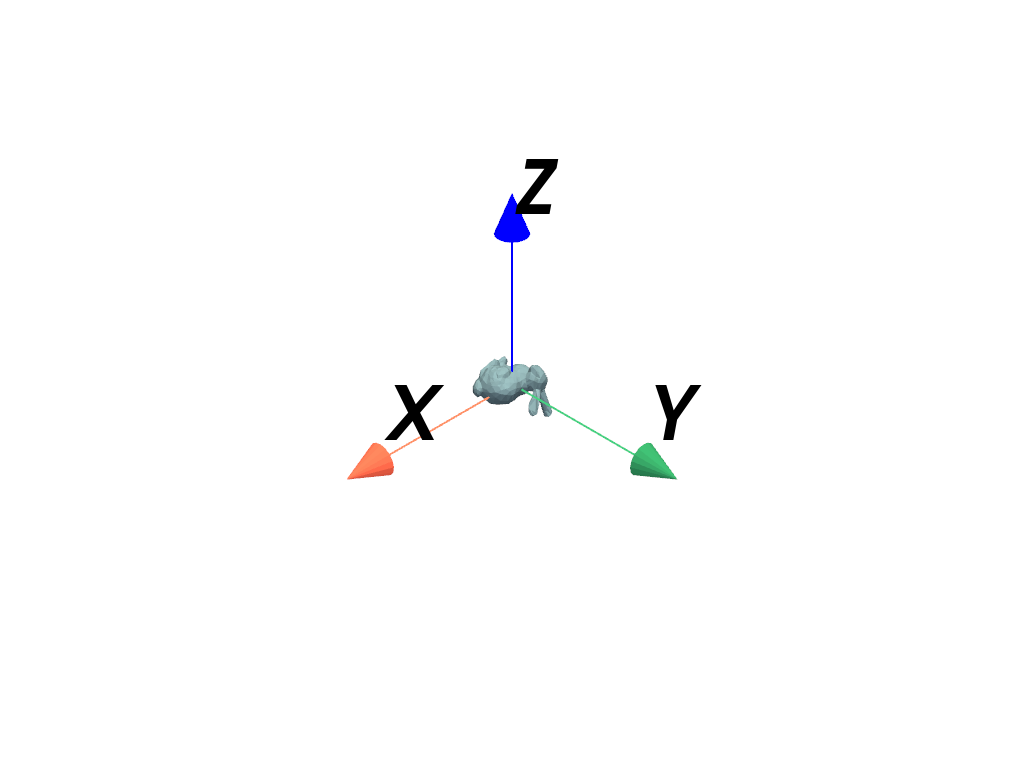
矢印軸#
矢印型の軸には、 AxesActor 、 AxesAssembly 、 AxesAssemblySymmetric があります。
AxesActor is primarily intended for use as an orientation widget
(see next section), but can also be added to a plot as a normal actor.
Use add_axes_at_origin() to add AxesActor
at the origin.
pl = pv.Plotter()
pl.add_mesh(mesh)
axes = pl.add_axes_at_origin()
pl.show()
The axes are too large and should be scaled down. Transformations with AxesActor are possible, but with some caveats:
The bounds of
AxesActorare hard-coded as+/- 1, which makes it challenging to configure the camera bounds for the plot.The user matrix must be used for transformations (scale and position properties do not work).
Create new axes, disable its bounds, and apply a scaling Transform.
trans = pv.Transform().scale(0.25)
axes = pv.AxesActor()
axes.UseBoundsOff()
axes.SetUserMatrix(pv.vtkmatrix_from_array(trans.matrix))
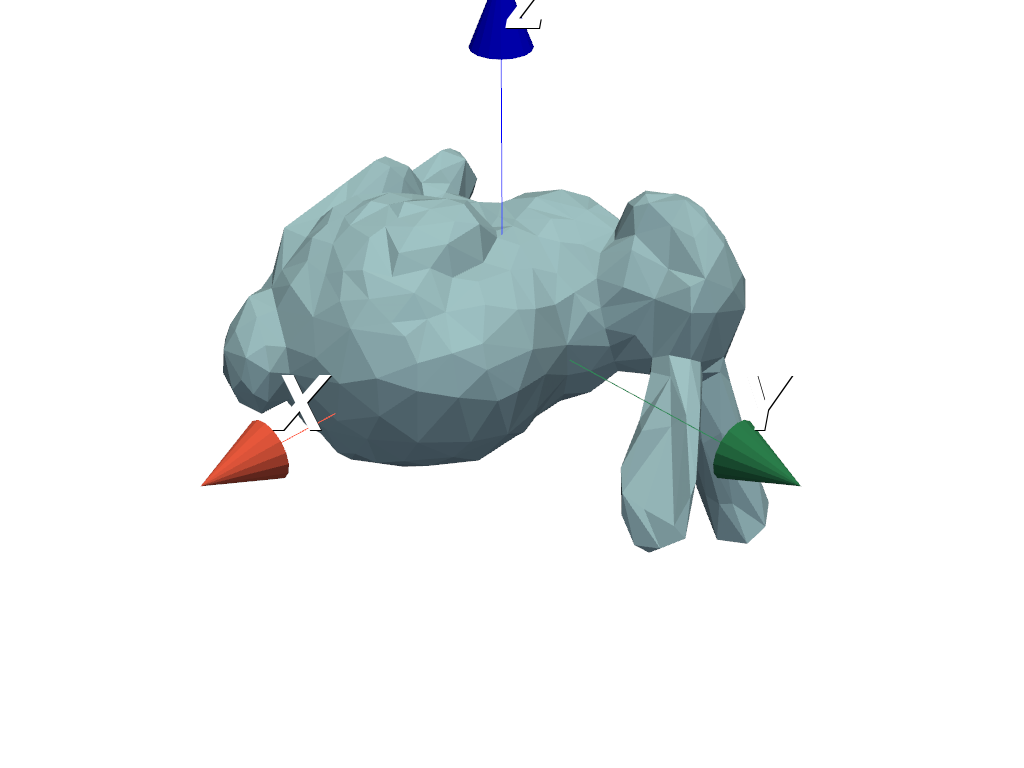
Plot the axes with a mesh. Note that since the bounds of the axes are not used, the tip of the z-axis appears clipped, which is not ideal.
pl = pv.Plotter()
pl.add_mesh(mesh)
pl.add_actor(axes)
pl.show()
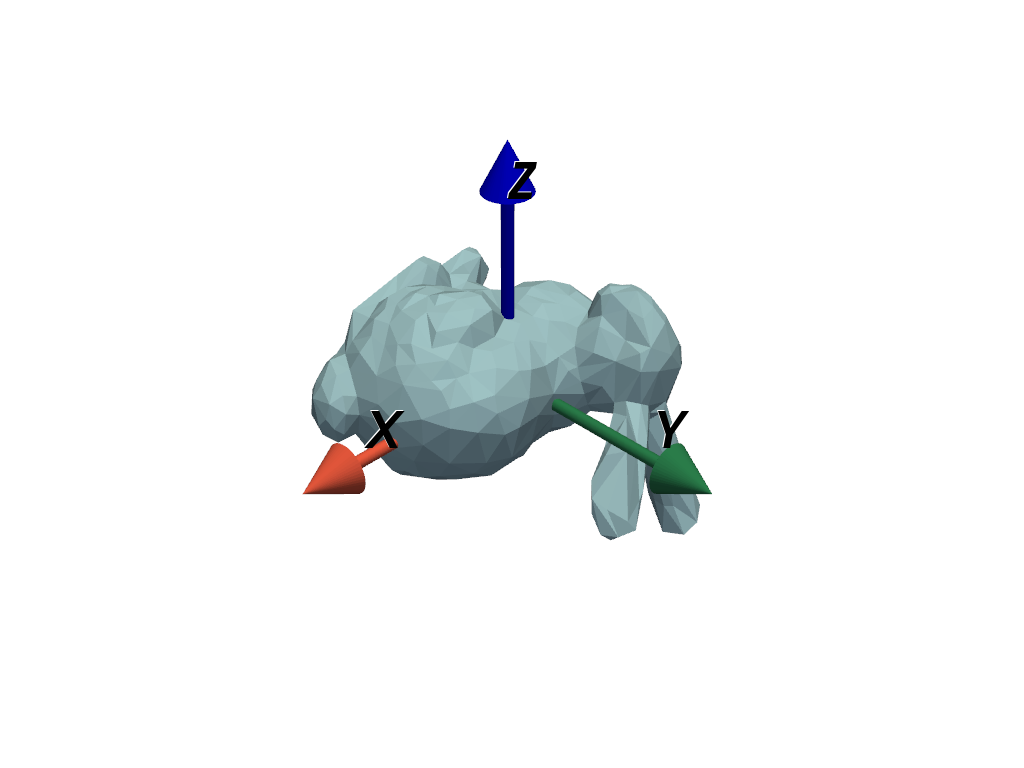
Instead of using AxesActor, AxesAssembly is
recommended for positioning axes in a scene.
axes = pv.AxesAssembly(scale=0.25)
pl = pv.Plotter()
pl.add_mesh(mesh)
pl.add_actor(axes)
pl.show()
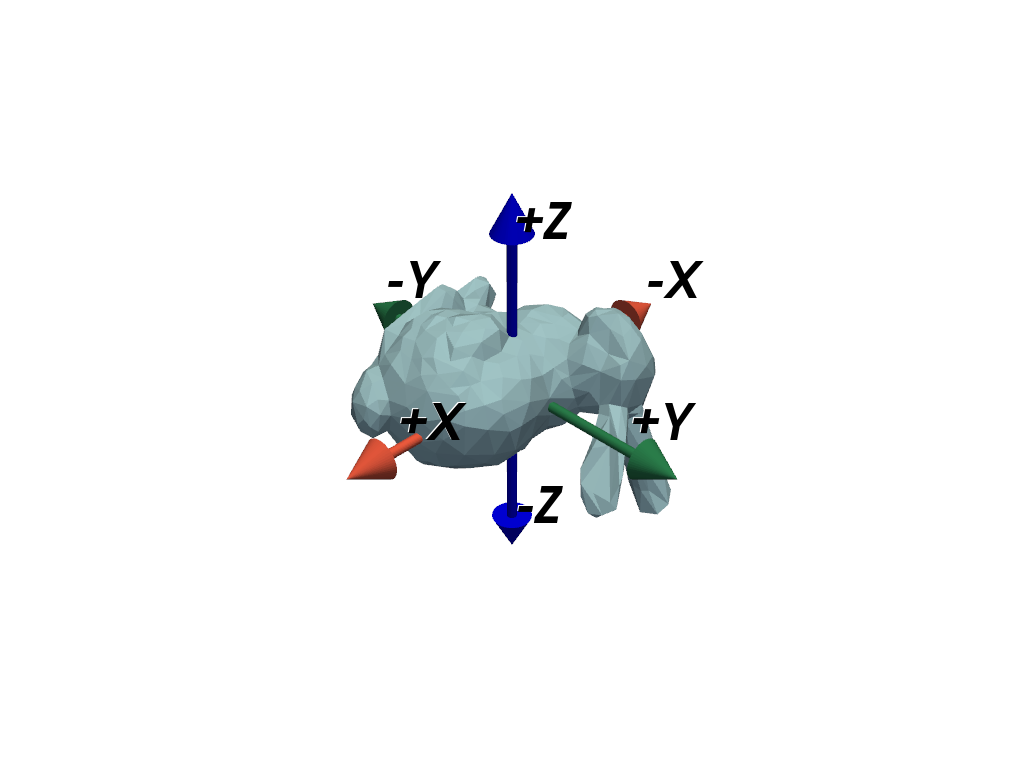
Alternatively, use AxesAssemblySymmetric for adding
symmetric axes to a scene.
axes = pv.AxesAssemblySymmetric(scale=0.25)
pl = pv.Plotter()
pl.add_mesh(mesh)
pl.add_actor(axes)
pl.show()
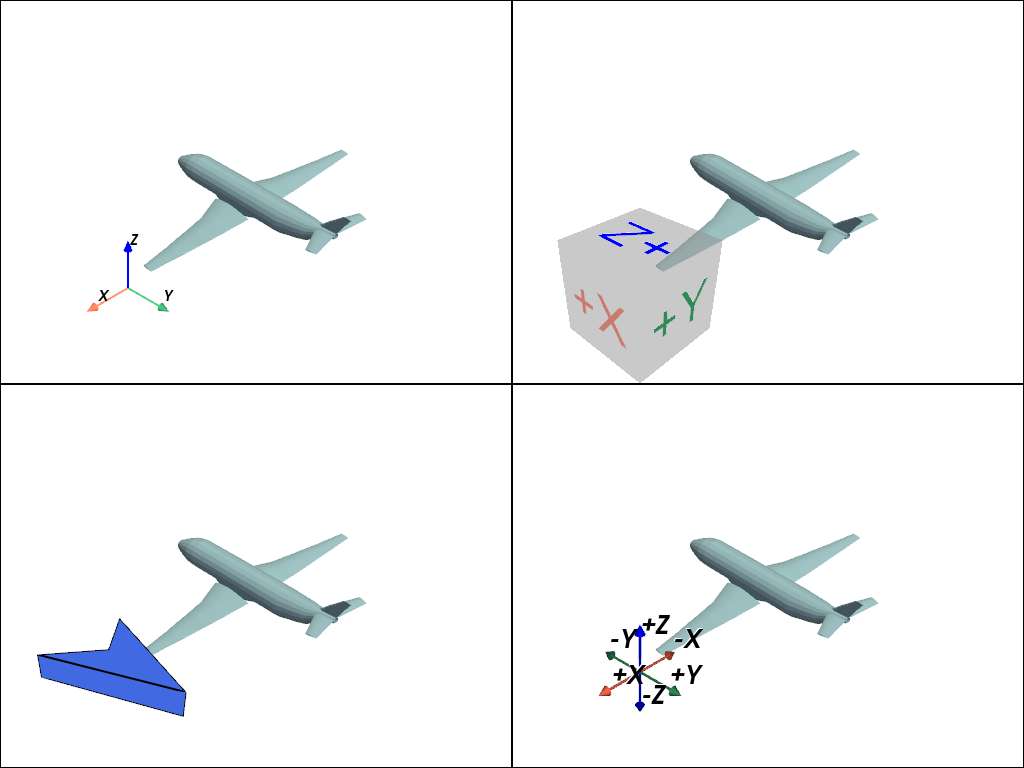
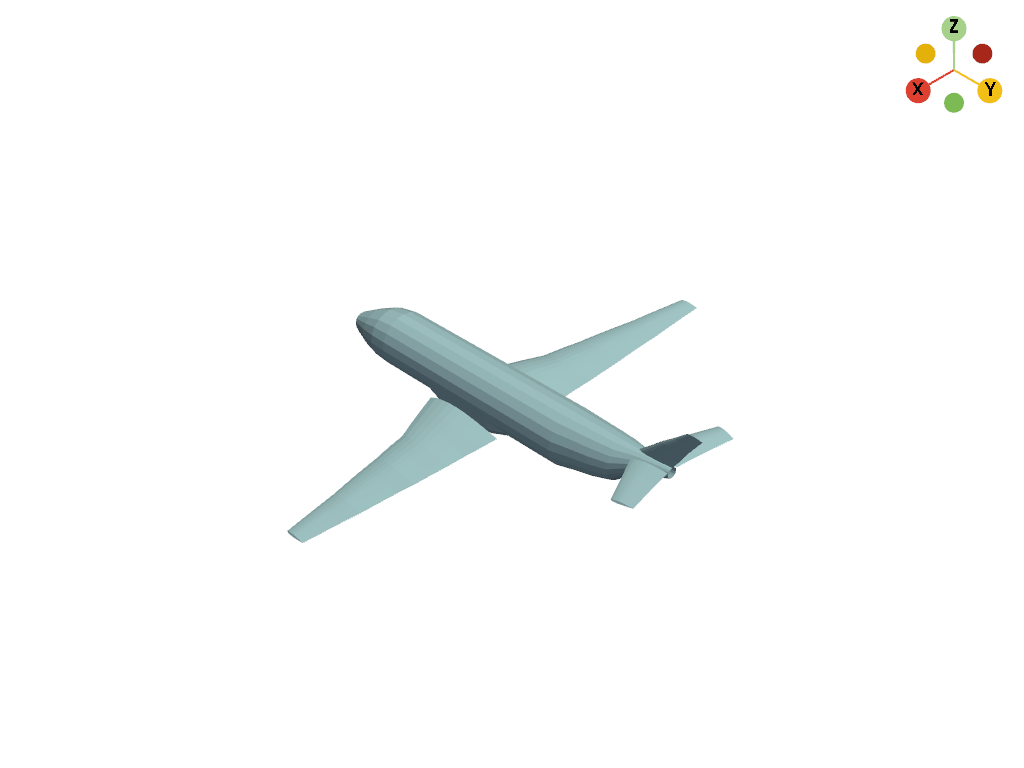
Axes Widgets#
Any actor can also be used as an axes orientation widget. Here, we demonstrate using four separate axes widgets:
Use
add_axes()to add an arrow-style orientation widget. The widget usesAxesActorby default.Use
add_box_axes()to add a box-style orientation widget.Use
add_north_arrow_widget()to add a north arrow orientation widget.Add
AxesAssemblySymmetricas a custom orientation widget usingadd_orientation_widget().
# Load a dataset
mesh = examples.load_airplane()

# Create a plotter with four linked views.
viewport = (0, 0, 0.5, 0.5)
pl = pv.Plotter(shape=(2, 2))
pl.link_views()

# Add arrow-style axes
pl.subplot(0, 0)
pl.add_mesh(mesh)
pl.add_axes(viewport=viewport)

# Add box-style axes
pl.subplot(0, 1)
pl.add_mesh(mesh)
pl.add_box_axes(viewport=viewport)

# Add north arrow
pl.subplot(1, 0)
pl.add_mesh(mesh)
pl.add_north_arrow_widget(viewport=viewport)

# Add symmetric arrow-style axes
pl.subplot(1, 1)
pl.add_mesh(mesh)
axes = pv.AxesAssemblySymmetric(label_size=25)
pl.add_orientation_widget(axes, viewport=viewport)

pl.show()
Camera Orientation Widget#
There is also a specialized camera widget which can added to a plot with
add_camera_orientation_widget.
Total running time of the script: (0 minutes 1.718 seconds)